PHP的安装和配置
安装PHP
虽然是写nginx但是作为基础先安装php(会的人可以无视)
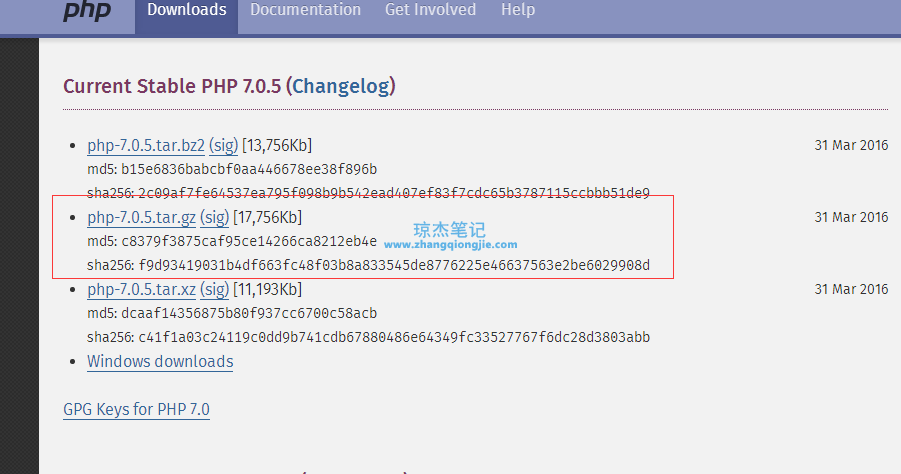
下载 PHP:PHP
选择合适的版本下载(我选择的32位的PHP5.6)
下载成功后 解压文件(我的解压路径为D:\work\php)
配置PHP
解压后在文件夹中找到php.ini-development文件复制一份并改名为php.ini
- 给PHP指定可加载扩展模块的位置。
在php.ini中找到extension_dir项目,取消注释并赋值为”./ext”:
改动后:
(注意删除前边的;)
- 然后让PHP和Nginx联动。
在php.ini中找到cgi.fix_pathinfo项目,取消注释。
改动后:
cgi.fix_pathinfo是用来设置在cgi模式下PHP是否提供PATH_INFO信息。
因为nginx默认不会设置PATH_INFO的值,所以需要通过上面的方法来提供。
安装Nginx
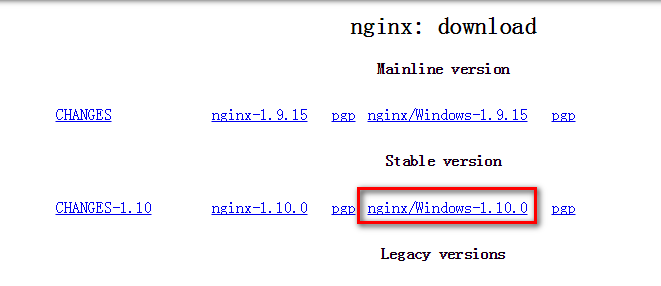
下载windows版nginx (http://nginx.org/download/nginx-1.10.0.zip),之后解压到需要放置的位置(D:\xampp\nginx)
将Nginx设置为Windows服务
需要借助”Windows Service Wrapper”小工具,项目地址: https://github.com/kohsuke/winsw
下载地址: http://repo.jenkins-ci.org/releases/com/sun/winsw/winsw/1.18/winsw-1.18-bin.exe
百度云:链接:https://pan.baidu.com/s/1fL6MLfCW51g6cLMwcx18Qg 提取码:tvgq
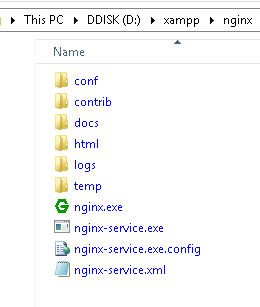
下载该工具后,将其放在 Nginx安装目录下,并重命名为nginx-service.exe,创建配置文件nginx-service.xml(名字要和工具名一样),
创建nginx-service.exe.config(为支持NET 4.0 runtime,默认只支持NET 2.0 runtime)
文件结构如下:
nginx-server.xml 内容如下:
  nginx
  Nginx Service
  High Performance Nginx Service
  D:\xampp\nginx\logs

    10240
    8

  D:\xampp\nginx\nginx.exe
  -p D:\xampp\nginx
  D:\xampp\nginx\nginx.exe
  -p D:\xampp\nginx -s stop
nginx-service.exe.config 内容如下:
在cmd中运行如下命令安装windows服务
D:\xampp\nginx\nginx-service.exe install
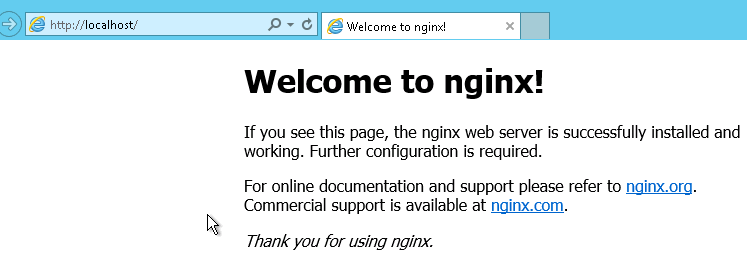
之后就可以在Windows服务面板中启动服务了

浏览器中就可以正常访问了
接下来**配置**Nginx。
在Nginx的目录下的conf目录下打开nginx.conf.
做以下修改:
#user  nobody;
worker_processes  1;

# 打开log
error_log  logs/error.log;
#error_log  logs/error.log  notice;
#error_log  logs/error.log  info;

#pid        logs/nginx.pid;


events {
    worker_connections  1024;
}


http {
    include       mime.types;
    default_type  application/octet-stream;

    #log_format  main  '$remote_addr - $remote_user [$time_local] "$request" '
    #                  '$status $body_bytes_sent "$http_referer" '
    #                  '"$http_user_agent" "$http_x_forwarded_for"';

    # 打开log
    access_log  logs/access.log;

    sendfile        on;
    #tcp_nopush     on;

    #keepalive_timeout  0;
    keepalive_timeout  65;

    #gzip  on;

    server {
        listen       80;
        server_name  localhost;

        #charset koi8-r;

        # 打开log
        access_log  logs/host.access.log;

        location / {
            # 设置网站的根目录(类似Apache的www目录)
            # 这个路径自己定义就行,下面的是我自己的路径
            root   D:/work/www;
            # 把index.php添加到默认首页,就是输入/时自动打开/index.php
            index  index.html index.htm index.php;
        }

        # 打开404页面(可以不动)
        error_page  404              /404.html;

        # redirect server error pages to the static page /50x.html
        #
        error_page   500 502 503 504  /50x.html;
        location = /50x.html {
            root   html;
        }

        # proxy the PHP scripts to Apache listening on 127.0.0.1:80
        #
        #location ~ \.php$ {
        #    proxy_pass   http://127.0.0.1;
        #}

        # pass the PHP scripts to FastCGI server listening on 127.0.0.1:9000

        # 配置FastCGI,PHP 脚本请求全部转发到 FastCGI处理
        location ~ \.php$ {
            #
            root           D:/work/www;
            # 设置监听端口
            fastcgi_pass   127.0.0.1:9000;
            # 设置nginx的默认首页文件(上面已经设置过了,可以删除)
            fastcgi_index  index.php;
            # 设置脚本文件请求的路径
            fastcgi_param  SCRIPT_FILENAME  $document_root$fastcgi_script_name;
            # 引入fastcgi的配置文件
            include        fastcgi_params;
        }

        # deny access to .htaccess files, if Apache's document root
        # concurs with nginx's one
        #
        location ~ /\.ht {
            deny  all;
        }
    }

}
上面所有改动的地方都加上了中文注释,其他地方没有动。
之后**启动**php-cgi和Nginx
先双击nginx.exe启动Nginx
然后打开cmd输入如下,启动php-cgi
:: 打开cgi -b指定端口 -c指定php.ini的位置
C:\Users\Administrator>cd C:\
C:\>php-5.6.9\php-cgi.exe -b 127.0.0.1:9000 -c C:\php-5.6.9\php.ini
这是我们可以测试一下启动是否成功。
在网站根目录下新建一个php文件:(例如我的是:phpinfo.php)
<?php

phpinfo();
然后打开浏览器进入网址localhost/phpinfo.php
如果成功会进入如下页面:
环境就成功搭建完了。至于MySQL,一般安装就好!
 琼杰笔记
琼杰笔记




评论前必须登录!
注册