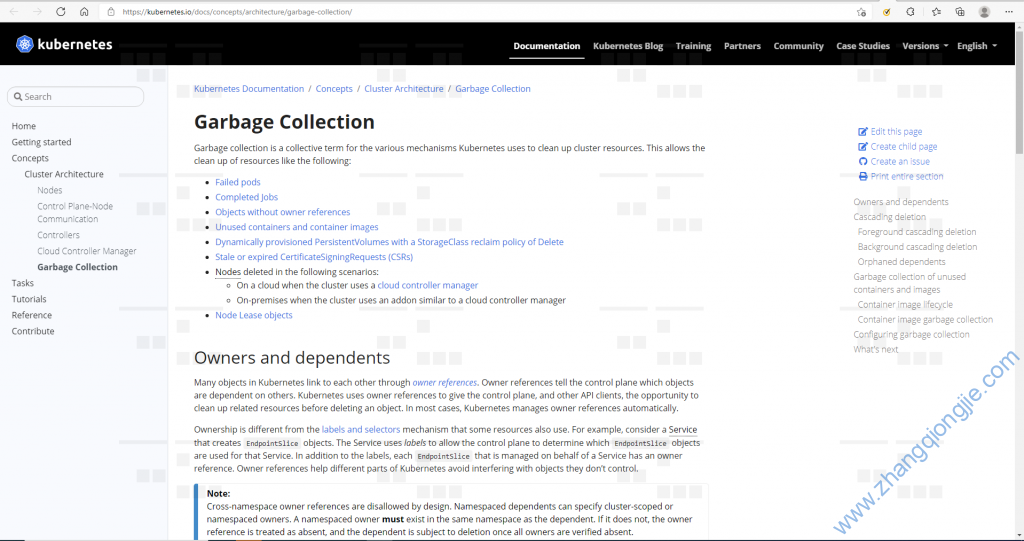
为kubernetes集群创建普通用户,可以通过创建私钥,利用私钥申请CSR(CertificateSigningRequest)认证的方式来操作(官方文档)。
1.创建私钥文件
openssl genrsa -out zhangqiongjie.key 2048
openssl req -new -key zhangqiongjie.key -out zhangqiongjie.csr
示例如下:
[root@ip-172-31-13-197 certificates]# openssl genrsa -out zhangqiongjie.key 2048
Generating RSA private key, 2048 bit long modulus
........+++
.............................................+++
e is 65537 (0x10001)
[root@ip-172-31-13-197 certificates]#
[root@ip-172-31-13-197 certificates]# openssl req -new -key myuser.key -out zhangqiongjie.csr
Error opening Private Key myuser.key
139884103870288:error:02001002:system library:fopen:No such file or directory:bss_file.c:402:fopen('myuser.key','r')
139884103870288:error:20074002:BIO routines:FILE_CTRL:system lib:bss_file.c:404:
unable to load Private Key
[root@ip-172-31-13-197 certificates]# openssl req -new -key zhangqiongjie.key -out zhangqiongjie.csr
You are about to be asked to enter information that will be incorporated
into your certificate request.
What you are about to enter is what is called a Distinguished Name or a DN.
There are quite a few fields but you can leave some blank
For some fields there will be a default value,
If you enter '.', the field will be left blank.
-----
Country Name (2 letter code) [XX]:CN
State or Province Name (full name) []:Shanghai
Locality Name (eg, city) [Default City]:Shanghai
Organization Name (eg, company) [Default Company Ltd]:db
Organizational Unit Name (eg, section) []:db
Common Name (eg, your name or your server's hostname) []:zhangqiongjie
Email Address []:db@db.com

Please enter the following 'extra' attributes
to be sent with your certificate request
A challenge password []:
An optional company name []:
2.私钥解密得到解密后字符串
cat zhangqiongjie.csr | base64 | tr -d "\n"
3.创建CSR
创建csr.yaml文件,内容如下:
apiVersion: certificates.k8s.io/v1beta1
kind: CertificateSigningRequest
metadata:
  name: zhangqiongjie
spec:
  groups:
  - system:authenticated
  request: request值为解密后的私钥字符串
  usages:
  - client auth
注意:
- usages 必须写为 ‘client auth’;
- 下request的值,需要填写上一步解密后的私钥字符;
kubectl apply -f csr.yaml
4.签署csr认证请求
1.获取csr列表
kubectl get csr
2.签署csr
kubectl certificate approve zhangqiongjie
5.获取certificate
您暂时无权查看此隐藏内容!
6.创建Role和RoleBinding
1.Role.yaml
apiVersion: rbac.authorization.k8s.io/v1
kind: Role
metadata:
  name: developer-zhangqiongjie
rules:
- apiGroups:
  - ""
  resources:
  - pods
  verbs:
  - create
  - get
  - list
  - update
2.RoleBinding.yaml
apiVersion: rbac.authorization.k8s.io/v1
kind: RoleBinding
metadata:
  creationTimestamp: null
  name: developer-binding-zhangqiongjie
roleRef:
  apiGroup: rbac.authorization.k8s.io
  kind: Role
  name: developer-zhangqiongjie
subjects:
- apiGroup: rbac.authorization.k8s.io
  kind: User
  name: zhangqiongjie
7.添加到kubeconfig
1.添加用户到kubeconfig文件
kubectl config set-credentials zhangqiongjie --client-key=zhangqiongjie.key --client-certificate=zhangqiongjie.crt --embed-certs=true
2.添加上下文
kubectl config set-context zhangqiongjie --cluster=arn:aws:eks:us-east-1:351193102666:cluster/ctrix --user=zhangqiongjie
3.切换上下文,测试新用户是否可用
kubectl config use-context zhangqiongjie
内容查看价格0.99元立即支付
注意:本站少数资源收集于网络,如涉及版权等问题请及时与站长联系,我们会在第一时间内与您协商解决。如非特殊说明,本站所有资源解压密码均为:zhangqiongjie.com。
作者:1923002089
 琼杰笔记
琼杰笔记


评论前必须登录!
注册